How to Record an Oral History Interview with Care
Consent begins before the recorder does
An oral history interview records a person's account of lived experience. Before scheduling, explain the project's purpose, intended audience, recording format, storage, editing, access, publication, and any promised option to restrict or withdraw material.
Consent law varies by place. Ethical consent also asks more than whether recording is technically legal. For institutional, public, cross-border, vulnerable-participant, or sensitive projects, use the receiving archive's process and obtain qualified legal or professional guidance.
Agree on boundaries in plain language
Discuss:
- Who is conducting and keeping the interview
- Audio, video, photographs, or transcript
- Public, family-only, restricted, or embargoed access
- Whether excerpts may be edited or published
- How living third parties will be protected
- Topics the participant does not want to discuss
- How pauses, off-record moments, corrections, and withdrawal work
- What happens to files in the future
Document agreement in an appropriate release or consent form and also summarize it on the recording. Do not promise control the project cannot technically or legally provide.
The participant may change comfort level during the conversation. Consent is a continuing exchange, not one signature asked to carry every future platform.
Prepare prompts, not a script to conquer
Research enough to ask informed questions without forcing the person's memories into your outline. Arrange prompts chronologically or by theme:
- Describe the place where you grew up.
- Walk me through an ordinary day at that job.
- Who taught you this skill?
- What changed after the move?
- What did people misunderstand at the time?
- Which objects or photographs help tell this story?
Ask one question, then listen. Follow with “What happened next?” or “Can you describe that?” Avoid correcting dates in the middle of a story. Note a discrepancy and revisit it respectfully later; memory and the documentary record answer different questions.
Test the room and recording chain
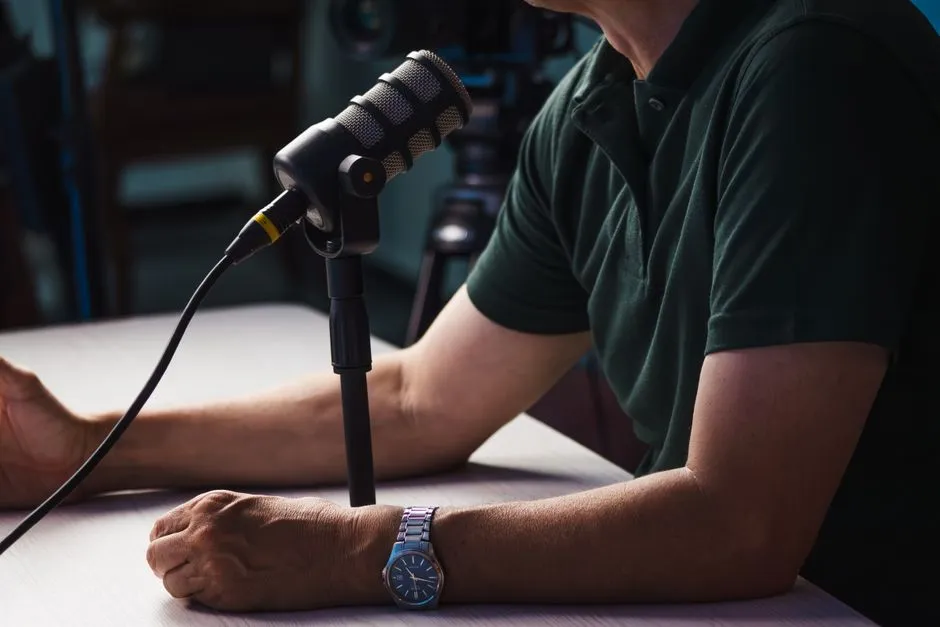
Choose a quiet, comfortable, accessible room. Turn off avoidable fans, alerts, televisions, and humming appliances with permission. Soft furnishings can reduce echo. Place the microphone according to its manufacturer and monitor through headphones when equipment permits.
Record a test, play it back, and confirm both voices are clear. Check available storage, battery or power, date and time, and file format. Use an independent backup when the project's importance warrants it.
The tiny recording indicator deserves attention. Many excellent interviews have otherwise been preserved exclusively in the interviewer's facial expression afterward.
Open with identification and permissions
At the start, state date, general place, interviewer, participant's preferred name, and the agreed purpose. Confirm that recording is permitted and invite the participant to pause or skip questions.
Begin with straightforward biographical context the participant is comfortable sharing. Move into more complex topics gradually. Do not pressure for trauma, private medical information, allegations, immigration status, or details about living people.
If emotion arises, offer a pause and follow the participant's preference. An interviewer is not automatically a therapist, investigator, or crisis professional. Immediate safety concerns require the appropriate local protocols and qualified support.
Listen without disappearing
Use short acknowledgments that do not cover the speaker's words. Allow silence. Ask for names to be spelled and unfamiliar terms explained, while recognizing that spelling and language standards may vary.
Bring a few relevant photographs only with permission. Our guide to cataloging family photographs shows how to record uncertain identifications and sources. Avoid writing guesses onto originals during the conversation.
Watch fatigue and finish at the agreed time. Ask whether the participant wants to add something not covered, then explain what happens next.
Preserve the original and describe it
Immediately verify the file, copy it to protected storage, and create more than one backup appropriate to the privacy level. Preserve the original recording unchanged. Create edited access copies separately and document edits.
Make a session log with names, date, duration, equipment, file names, topics, restrictions, notable time codes, and technical interruptions. Store consent documentation with controlled access. The oral histories collection treats metadata as part of the interview, not paperwork that wandered in later.
If transcribing, state whether the transcript is verbatim or lightly edited. Mark uncertain words and time codes. Do not silently improve grammar in ways that change voice or meaning. Offer participant review when promised and record corrections without erasing the original account.
Before any new use, check the agreement again. A family recording made for private listening does not become public merely because uploading is easy. Careful access is not withholding history; it is keeping faith with the person who trusted the recorder.