How to Digitize Old Photos at Home: A Careful Workflow
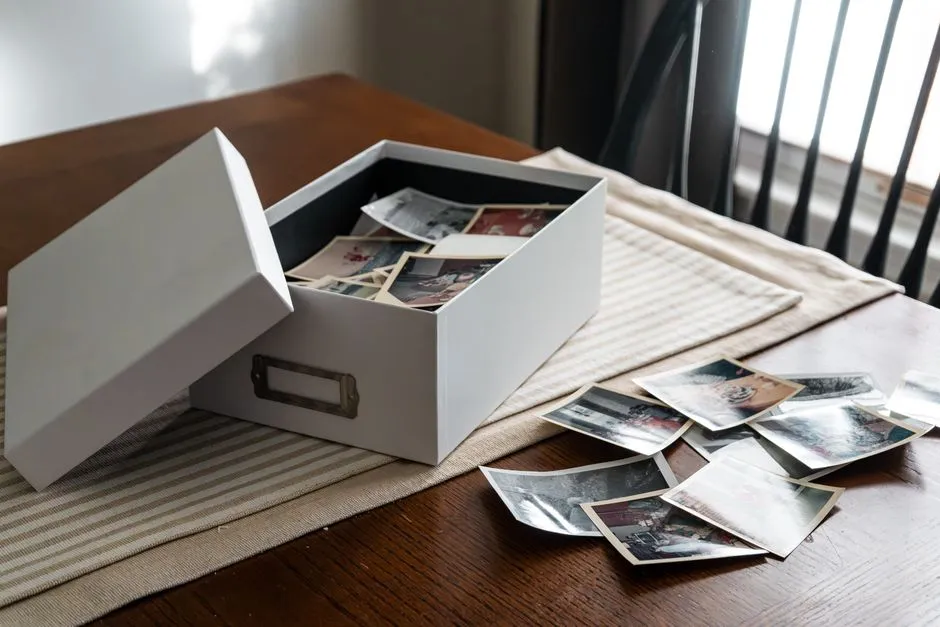
- How do you digitize old photos at home?
- Which photographs should you set aside first?
- Should you use a flatbed scanner or a phone?
- What resolution and color settings make sense?
- Should the master be TIFF or JPEG?
- What changes for negatives and slides?
- How do you keep the front, back and original connected?
- What should you check before returning a print to its box?
- How should you back up the finished files?
- Sources
How do you digitize old photos at home?
Begin with stable prints that you can handle without damage. Choose capture equipment that accommodates the original without pressure or damage. Record capture settings, save a faithful master and make edited copies separately. Link each file to its original and keep backups in different places. Keep the physical photographs; stuck, flaking, moldy or unusually fragile items need a photograph conservator's advice before handling or treatment.
The useful result is a readable image with its identity intact. Start with a small group, finish the capture and backup checks, then decide whether the same method suits the rest of the box. Our home family archive guide covers the larger organizing system.
Which photographs should you set aside first?
Choose ordinary, sound, loose prints for your first session. Leave damaged albums, stuck photographs and materials that cannot safely lie flat for professional assessment. The National Archives conservation guidance identifies stuck items, mold and damaged bindings as reasons to consult a conservator. Do not peel a photograph free, press a curl flat or apply household cleaning products to prepare it for scanning.
Prepare a clean, clear work surface with no food or drinks. The National Archives handling advice recommends gloves for photographs and negatives because fingerprints can leave permanent stains. Ask a photograph conservator about appropriate handling if the process or condition is unfamiliar.
Keep each print with its identifying enclosure until you are ready to capture it. Work through one item at a time so the front, back and filename remain connected.
Should you use a flatbed scanner or a phone?
| Original | Useful starting approach | Check before capture |
|---|---|---|
| Sound, loose print that fits the scanner | Flatbed scan | Entire print fits without pressure from the lid |
| Album page that opens safely | Camera capture with appropriate support | Binding is not forced and page arrangement remains visible |
| Ordinary print when a scanner is unavailable | Phone capture | No glare, tilt or missing edges in the saved image |
| Negative or slide | Film-capable equipment or a specialist | Correct illumination, holder and film settings |
The National Archives digitizing guide warns against crushing oversized originals with a scanner lid and recommends supported camera copying for books. Avoid automatic-feed equipment for fragile or valuable material.
A phone is another capture tool, not proof of a satisfactory copy. Google's PhotoScan instructions call for holding the phone directly above the print without tilting and checking the processed image. Its glare-removal mode guides the user through four marked points. Review the corners and reflected highlights afterward. Never detach a stuck print merely because an app's instructions suggest taking photographs out of albums.
What resolution and color settings make sense?
Pixels per inch, or PPI, describes the sampling density across the original. Scanner menus may call it DPI. The Library of Congress personal-scanning handout suggests 400 or 600 DPI for photographs intended for enlargement to 8 × 10 inches or greater. That is a useful print-scanning reference, not a universal setting for film or every archival project.
Here is an illustrative calculation for a whole 4 × 6-inch print, captured at original size without cropping or resampling:
| Setting | Pixel calculation | Result |
|---|---|---|
| 400 PPI | 4 × 400 by 6 × 400 | 1,600 × 2,400 pixels |
| 600 PPI | 4 × 600 by 6 × 600 | 2,400 × 3,600 pixels |
Try one sample before committing the batch. Inspect small handwriting and fine details in the saved file. For sepia tones, colored annotations or paper color you want to retain, choose color capture. Avoid a two-tone document mode that reduces the photograph to black and white without intermediate tones.
Should the master be TIFF or JPEG?
If your software supports it, our starting choice is an uncompressed TIFF master and a separate JPEG for convenient sharing. The Library of Congress identifies TIFF as a preferred photographic format and describes its use for primary or master image files. TIFF supports different encodings, so check the save options rather than relying on the extension alone.
Keep the initial capture separate from cropped, recolored or restored versions. For an existing JPEG, preserve that original file too; converting it to TIFF does not recover information absent from the JPEG. Record any later edits, particularly automated face reconstruction or colorization, so an interpretation cannot be mistaken for the original evidence.
What changes for negatives and slides?
Transparent film needs light passing through it. Epson's film-scanning documentation illustrates this with a transparency unit and film holders. An ordinary print-scanning setup is not automatically equipped for that task.
Check your particular equipment's supported film formats and instructions. A film holder must match the material, and negative versus positive film needs the appropriate capture setting. Do not assume the print resolutions above are a film recommendation.
For unknown, damaged or deteriorating film, consult a photograph conservator or specialist digitization provider before loading it. Do not cut strips, dismantle mounts or improvise pressure to make film fit. Put the identification and condition question ahead of the equipment question.
How do you keep the front, back and original connected?
Assign a stable identifier before capture. Our family photo catalog guide explains the descriptive record; the scanning task is to preserve its link to the files.
This fictional example shows one print with an informative back:
| File | Meaning |
|---|---|
| PHOTO-0042_front.tif | Master capture of the picture side |
| PHOTO-0042_back.tif | Master capture of the reverse inscription |
| PHOTO-0042_front_share.jpg | Separate sharing copy |
Put the enclosure location, capture date, device and settings in the record. Transcribe an uncertain name as uncertain. Do not replace the scan of an inscription with your interpretation of it. Capture borders and mounts that carry evidence, where handling permits, and document album-page context before considering individual images.
What should you check before returning a print to its box?
Use this editorial review sequence on the actual saved files:
- Open the file outside the scanning preview and confirm it is the intended photograph.
- Inspect the entire image for missing edges, skew, glare, shadows and accidental crops.
- Zoom in on a face, textured area and any writing to check focus and readable detail.
- Confirm the pixel dimensions and file format match your chosen settings.
- Check that the reverse file, if needed, has the same identifier.
- Record problems and the next action before moving to another original.
A thumbnail is insufficient for these checks. If the image is wrong, correct the capture setup while that print is still identified.
How should you back up the finished files?
Keep the masters, sharing copies and catalog together in an understandable folder structure. The Library of Congress digital-photo guidance recommends descriptive filenames, documentation, multiple copies in different places and checking readability at least annually.
Our practical addition is a restore test: retrieve a file from a backup into a separate test folder and open it. Verify that its identifier also exists in the backed-up catalog. Repeat the check after changing your storage arrangement.
Retain physical prints after scanning, as the National Archives advises. Finish a manageable group with both originals and files accounted for.
Sources
- National Archives: digitizing family photographs.
- National Archives: handling photographs.
- National Archives: repairing existing damage.
- Google: PhotoScan instructions.
- Library of Congress: scanning personal collections.
- Library of Congress: TIFF format.
- Epson: loading slides and film.
- Library of Congress: keeping digital photographs.